Dubtrain Goboes
A "Gobo" is a portable acoustic panel that can be placed to absorb sound or deaden a particular area of a room. They are used in recording studios to shape the sound of a particular instrument or vocalist, or to help contain stray sounds coming from other instruments into your microphone (aka "bleed"). Although these panels can sell for a couple of hundred dollars or more, you can make your own for about $40 each!
|
The only tough part of this project is finding a local source for rigid fiberglass (often called Owens-Corning 703) panels. In the Seattle area, you can call Paragon Pacific Insulation and get a small number of panels no problem.
I used 1" thick panels for this project. - they cost about $10 each. I have a whole bunch of 3" panels (two 1-1/2" panels stacked, using 1"x4" frames) on the walls and ceiling corners. The thicker your gobo, the more low end it will absorb, Here's how I built mine: |
1) I prepped a bunch of nice straight 1"x2" clear stock with a few layers of shellac, then ripped a 3/16" inch groove along the lengths of the untreated sides. This groove will be filled with wood glue and will receive the pegboard panel's edge for a nice neat finish. If you don't want to groove your stock, you can also just glue and tack the pegboard right onto the back of the 1"x2" rails, but it won't look as nice. |
 |
2) I got some stock 2'x4' painted sheets of pegboard from Home Depot, and with a bit of wood glue, some finish brads and a couple of tension straps, I assembled four panels and set them aside to dry. The painted side of the pegboard is on the back, which will stay exposed. |
 |
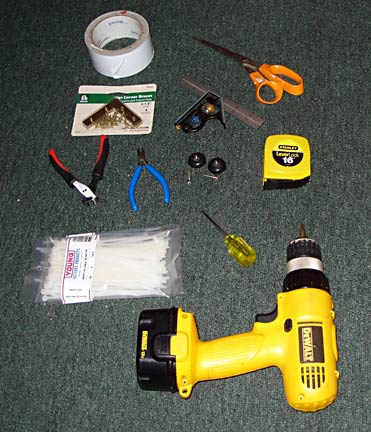
3) While the frame assembies set up, I gathered the rest of the tools I need for the panel assembly. Scissors, duct tape, a drill, a small awl, some clippers, a measuring tape, and some corner brackets and rubber feet for the framing finish. Plus my favorite tool ever, the small carpenter's square! |
 |
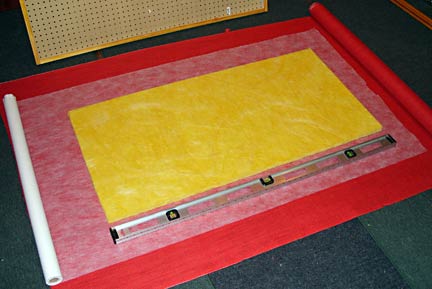
4) After measuring the frame's interior dimensions and trimming the 703 rigid fiberglass panels to fit, I began to assemble out the material layers. Burlap (treated with fireproofing) goes down first, then a layer of this nice silt filtration fabric I found at Home Depot. I'll wrap this around the fiberglass panel to contain any small mineral fibers that might want to escape. |
 |
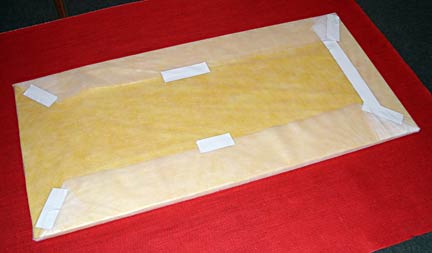
5) I pulled the liner fabric back over the panel, tightened up the folds and taped it all shut. You definitely don't want that rough burlap scraping fiberglass fibers everywhere when it rubs against the panel! This super-fine nylon fabric creates a very thin but impermeable barrier to prevent any fibers from entering your airspace. |
 |
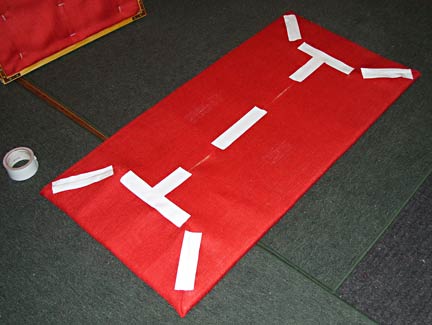
6) Now the burlap fabric gets carefully folded over to meet in the middle. Be careful not to distort the weave of the burlap or your panels will bunch oddly and look lame. Tape it up tight with more duct tape. |
 |
7) Now I drop the frame over the wrapped panel, tuck the corners and edges in and affix the panel to the frame with zip ties. I've got a bunch of 6" ones, which loop nicely from back to front and back again, one hole apart. I have to use the awl to punch a hole through the various layers of material. |
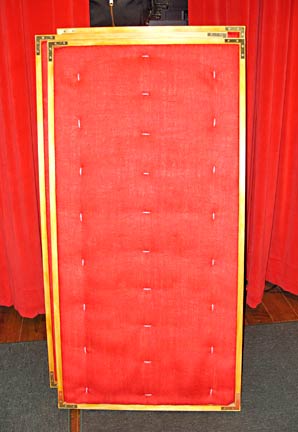 |
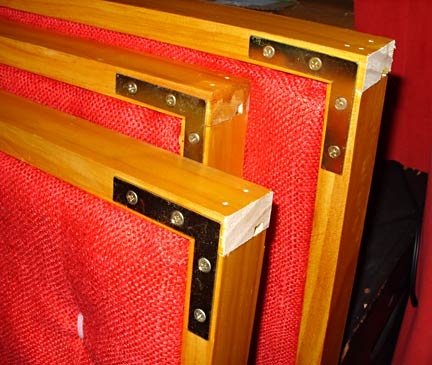
8) Although the frames are held together with glue along all the panel edges, I reinforce the corners with flat braces. These really held to hold the whole frame together, and alleviates undue stress on the corner joints when the panels twist as they are shoved around the studio. Remember to center punch (use the awl) and pre-drill to ensure correct placement! |
 |
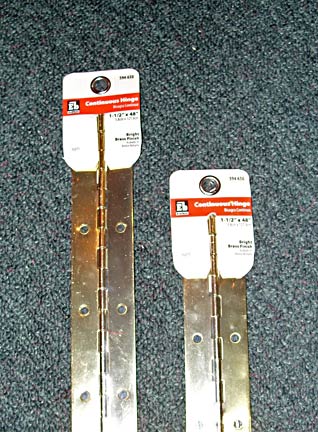
9) I found these nice brass continuous (or "piano") hinges at the hardware store, and they will each hold a pair of frames together, once I get the five thousand screws installed... |
 |
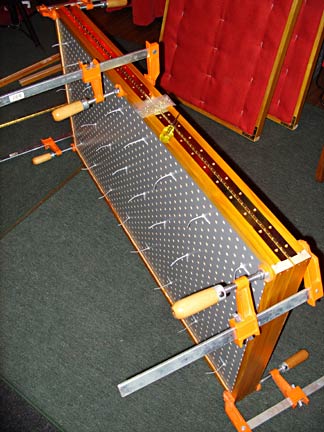
10) I clamped two panels together, face to face, and used another clamp to ensure that the gap was consistent from end to end as well as in the middle. Making sure the hinge strap was centered, I fixed the end points and the midpoint first to prevent wandering, and then centerpunched, pre-drilled and screwed my way on home. |
 |
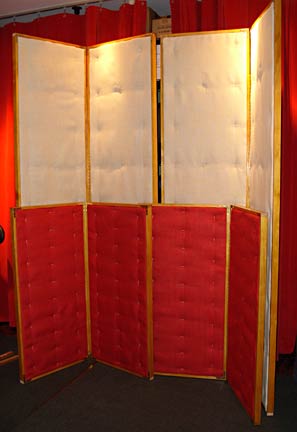
11) I did this with four 2'x4' panels, then started all over again making a quartet of super-tall 2'x8' panels. These can be used to form a small isolation booth for vocals or other dry recording purposes. Lots more tape and zipties for these double-sized babies, and don't get me started on the strap hinges. Yikes. Again, glue in the railing grooves and some corner hinges hold these large panels together pretty firmly. There is a little wobble due to their height, but once each pair is hinged together, that goes away almost entirely. |
 |
12) Here is the complete set of panels, a pair of 4' high ones and a pair of 8' monsters. The big panels have already come in handy for a saxophone player in a live quartet recording, and the smaller panels are going to be perfect for amps, kick drums, and shoe horns. Ha! |
 |
|
I hope you've enjoyed this visual construction guide! These panels can be used with the fabric side forward to absorb lots of sound, or used with the pegboard side forward to create a low-end dampening but mostly reflective near-field surface. They can also be set up back to back for more extreme sound dampening, or used folded up (pegboard side out) for lots of low-end absorption but not too much mid- and hi-range reduction. Good luck with your own acoustic panels! If you have any questions, please send your email to 'webmaster' at this website's domain. Thanks for reading! - Oct 2008 |
All photos are ©2008 Dubtrain Records
All Rights Reserved